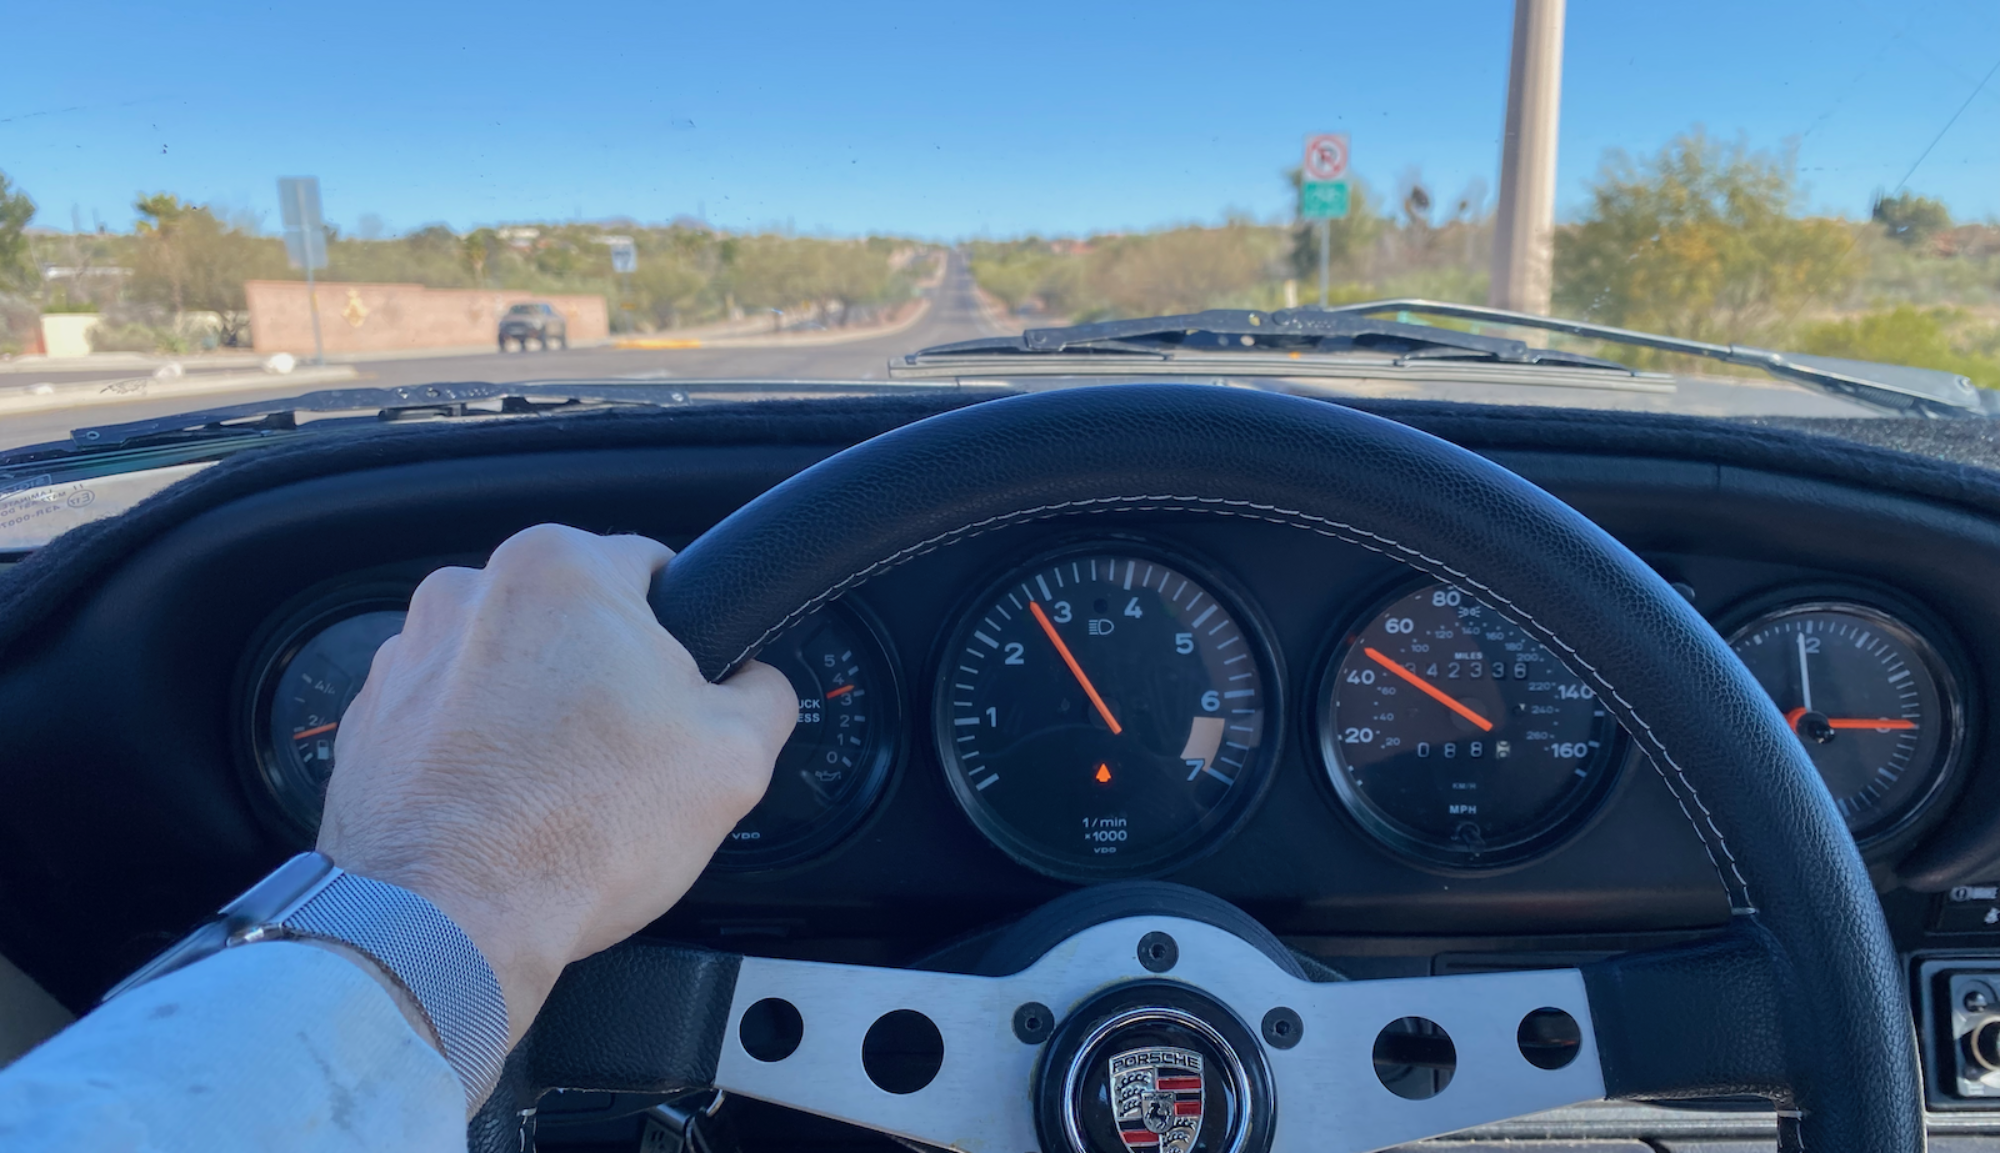
911 Fuel Line Replacement and Engine Out

What Happened

On Septeber 13, 2025 at 6:00am I was warming up the car to attend Cars & Coffee. While it was warming up in front of the house, I heard the pitch of the engine change, went lower and started to struggle. As I looked out front from the garage I could see fluid leaking all over the place. A high pressure fuel line had burst and fuel was spilling from the top of the engine and flowing over everything.

Had this happened but 15 minutes later, I would have been on the road and the car would have caught fire and been a complete loss. I was blessed it happened when it did! Here is a picture of it flowing.

Apparently the fule lines had been done by Porsche Atlanta, but uing stock lines and over 5 years previous – which apparently is their lifetime.

After a bunch of research on how to repair I determined to do it the “correct” way and pull the engine, as it would be simpler when actually replacing the lines and I could do all of the “while your in there” items. I will list those later. I had also always wanted to pull an engine in a car and replace it.

I did have some experience as well. My buddy Jim Newmann had removed and replace a few of his and I was able to help, so I knew the overall process and tools needed. Had I not had this opportunity to help him on his cars, I would probably have just taken it to a shop.

Lessons Learned

  • Have a copy of the Bently manual and other books like 101 Projects for your 911 handy
  • Have access to the PET diagrams for your car so that you can reference needed part numbers and how things fit together.
  • Put the engine at top dead center before you drop the engine. This will help make sure you know where the engine is if and when you need to pull the distributor.
  • Use a spreadsheet to document what you do and in what order you do it and to leave yourself notes as you go. Can also write it down, I just do everything electronically so I cant loose it.
  • Take a lot of pictures. If you think you have taken too many, take more. You never know what you may need a picture of later!
  • As you remove parts, place them in plastic bags and label them. Trust me on this.
  • As you go clean electrical connections
  • As you go clean everything you can
  • On a G Body car, you can simply remove the transmission shift bolt under the car, no need to take it apart inside the tunnel from inside the car.
  • Use multiple floor jacks to support. One for the transmission, and two for each side of the engine.
  • Do not use Quick Jacks to lift the car when removing the engine. You might be tempted to lift it “just a bit more” and the car could fall off the jacks. Do not ask how I know that.
  • Instead, get a set of 6 ton floor jacks and side lift paddles. Put the floor jacks on the torsion bar tunnel and left each side, alternating, until you are high enough to drop and slide the engine out.
  • Yes – replace the that the intermediate flanges (930 110 459 00) that the intake sits on top of, as its a pain to redo once the engine is back in the car and you have a vaccum leak.
  • Get help! While you can do this yourself if you take your time, help make it go faster and makes gooder memories! I will always remember the time spent with my son Nathan pulling the engine! Love ya buddy!

The List

Here is the list and order of operations I used.

1988 Porsche Targa Maintenance

Engine Out — 91 logged steps

DateStepNotesneeds
Remove Engine
Oct 01, 2025Raise car
Oct 01, 2025Drain OilReplaced
Oct 01, 2025Disconnect negative battery cableReplaced
Oct 01, 2025Disconnect hard oil lineReplaced
Oct 01, 2025Disconnect rubber oil lineReplaced
Oct 04, 2025Remove rear sway bar13mm to body, 19mm to drop links – had to lower car as QJs were blocking, put on jackstands and removed bar, put back on QJs
Oct 04, 2025Disconnect accelerator cable armpried socket off ball and slide wire loop off the other sideReplaced
Oct 04, 2025Remove tires19mmReplaced
Oct 04, 2025unbolt lower shock boltsto allow removal of axels, 22mm, support trailing arm while removingReplaced
Oct 04, 2025Remove CV Joints and axels from transmission8mm hex bolt and 32mm outside axel nutReplaced
Oct 04, 2025Disconnect clutch slave cylender13mm nuts, this way wont have to bleed clutchReplaced
Oct 04, 2025Disconnect starter solenoid electrical connections13mm nut, left on starter, both wires goto nut and yellow wire to top crimp connectorReplaced
Oct 04, 2025Disconnect reverse backup switch and speed sender from transmissionpassenger side – two wires covered by a boot… have picture but not 100%sure they are correct place in pic speed sender is on driver side and is held in by 10mm bolt and a flat retainerReplaced
Oct 04, 2025Disconnect transmission ground strap13mm and left bolt on the car – ground strap goes between the two washersReplaced
Oct 04, 2025Disconnect heater hoses from exchangersReplacednew hoses and bandsHoses 930 211 196 00, 901 211 194 00, 4 clamps 999 512 349 02
Oct 11, 2025Remove speaker box to allow access to shift coupler cover
Oct 11, 2025Disconnect two speedometer sender wires – 2 of them, and under car, pull back rubber boot cover and remove shift coupler via hex bolthad already disconnected sender from driver side of transmission, so put the wires back together inside car… will need to remember to route the think black wire and sensor over the top of transmission on replaceReplaced – unsure if correct top to bottom
Oct 11, 2025Disconnect A/C compressorremovedlater
Oct 11, 2025Remove electric panel coverleft wingnut on carReplaced
Oct 11, 2025Remove plastic coil cover
Oct 11, 2025Disconnect main 14 pin harness for engineReplaced
Oct 11, 2025Disconnect ground wires from intake runner 1 – left bolt on runner o we dont loose itReplaced
Oct 11, 2025Disconnect cylinder head temp sensor (marked in car as top) with brown wire, engine speed sensor (middle) with grey wire, reference sensor (bottom) with brown wire had to remove the lock wires firstReplaced top sensor loose
Oct 11, 2025Disconnect breather hoses2 large and one smallReplaced
Disconnect accelerator linkage cableReplaced
Oct 11, 2025Disconnect / remove large plastic elbow tube between heater blower fan and heat exchanger feed tubeReplaced
Oct 11, 2025Disconnect cruise control cable from throttle bracketReplaced
Oct 11, 2025Disconnect Oxygen sensorReplaced
Oct 12, 2025Disconnect multin pin engine harness connector near left shock towerReplaced
Oct 12, 2025Disconnect Power brake vaccuum hoseReplaced
Oct 12, 2025Disconnect fuel return line, left side rear on fuel railReplaced
Oct 12, 2025Disconnect fuel supply line, top of fuel filterReplaced
Oct 12, 2025Removed KN Air Filter and mounting braket (blue)Replaced
Oct 12, 2025Removed idle speed control sensor connector and clipReplaced
Oct 12, 2025Removed top throttle position sensor connector and clipReplaced
Oct 12, 2025Removed bottom throttle position sensor – missing clip!!Replacedclip
Oct 12, 2025removed air flow box for needed clearanceReplaced
Oct 12, 2025Remove blower fan for clearanceReplaced
Oct 12, 2025set front jackstands just in casesaved my life
Oct 12, 2025dropped car to the left 8 inches, landed on motor, shit pantsrear motor mounts
Oct 12, 2025reconnected shocks and tires, jacked up via tires, pulled engine
Oct 12, 2025lowered car via quickjacks and now on wheels
Oct 13, 2025Found small spring on top of engine under accelerator spring
While Out
Oct 13, 2025Pulled injectors with clips and caps and labeledReplaced
Oct 16, 2025Injectors send for cleaning – DONE
Oct 28, 2025breather hose – rear of driver intake manifoldReplaced
Oct 30, 2025disconnect accelerator linkage on air intakepried apart with screw driverReplaced
Oct 30, 2025removed three sensor bracket and tagged sensors with top,middle,bottomReplaced
Oct 30, 2025removed accelerator return spring under air intakeReplaced
Oct 30, 2025removed retaining bolt for middle fuel line holder bracketNA
Oct 30, 2025removed diagnostic bracket boltNA
Oct 30, 2025removed three fuel line bracket bolts rear of intake, 2 bolts on driver, 1 bolt on drinker sideReplaced
Oct 30, 2025removed long thin breather hose, top position on throttle body, went to nothing, was hanging in engine when removedwas open to atmosphereReplaced
Oct 30, 2025removed bottom small hose on throttle body rear, went to a T connector which goes to twin fuels regulator i think thats what they are called
Oct 30, 2025removed air intake nuts, two studs came out as wellwill need to figure out a fixReplaced
Oct 30, 2025removed air intake, found little bastard leak in lineReplaced
Oct 31, 2025split the air intake by removing middle rubber gasketReplaced
Oct 31, 2025removed Idle actuator Air Control Valvewasher and bolt left on intake – need plastic bagsReplaced
Oct 31, 2025removed fan bolt and coverReplaced
Oct 31, 2025removed fan and alternatorthree nuts 7mm 8mm and 10mmReplaced
Nov 01, 2025removed engine support bracketneed new bolts and nuts, was missing oneReplaced
Nov 01, 2025put engine at top dead center for #1 in order to remove distributor
Nov 01, 2025Removed distributor17mm bolt used open end wrenchReplaced
Nov 01, 2025Removed all four valve covers – had to loosen catalytic bolts for lower driver sideremember to tighten exhaustReplaced
Jan 01, 2001cleaned valve covers, fan and other parts at RedlineReplaced
Nov 05, 2025Reinstaled cleaned valve covers with new gaskets and hardwareReplaced
Nov 05, 2025removed engine surround – front three partsReplaced
Nov 05, 2025replaced spark plugsReplaced
Nov 06, 2025Clean engine surround pan parts and paintedReplaced
Nov 06, 2025Replaced distributor o-ring, reinstalled distributor, spark plug wires and rotor and capReplaced
Nov 07, 2025Replace oil thermostat o-ringfrom ebsReplaced
Nov 07, 2025Replace breather cover gasketfrom ebsReplaced
Nov 07, 2025Replace oil pressure switchnew switch is shorter and has a washer, took picturesReplaced
Nov 08, 2025Replace two air intake studs into blockReplaced
Nov 08, 2025Replace air intakeReplaced
Nov 08, 2025Replace fuel injectors and fuel railsReplaced
Nov 08, 2025Replace Fuel linesall lines except fuel return line – need to figure that connection outReplaced
Replace pulley seal or whatever is leaking at rear of engine
Nov 14, 2025Replace alternatorReplaced
Replace fuel pump
Clean engine compartment and install new sound padReplaced
Rear brake lines.,
Install Engine
Nov 29, 2025All steps opposite of REMOVE list
Dec 01, 2025Pressurize fuel systemdone
Add Oil and startdone!

Schauf Expedition(ish)

Most of you know that in 2018 I was able to go on a trip of a lifetime with my friend Jim Newmann to help him drive a Mercedes G-Wagon back home. It was spectacular to say the least and something neither of us will ever forget.

Time for another expedition(ish). Let me explain.

In 2020, I will be visiting the IBM Tucson office a bit more than usual. I think I have been to the office twice, because for the last 20 years with IBM I have worked from home. The round trip from Indecision Ranch to IBM Tucson and back home is just over 80 miles. As we know from Linda commuting the the Tucson Fire Academy, miles can add up on a vehicle.

We don’t want to put any more miles on Linda’s vehicle (“Pearl”, a Land Rover Supercharged) nor my vehicle (“Earl”, an F250 Super Duty) because we tow the Airstream with it. So – I have been searching for a new daily driver. Given the Guatemala trip, to say that I am impressed with Mercedes diesel engines would be an understatement. So I started the search.

I was geeking out with Jim today on the phone, talking cars. He has been helping me keep an eye out for a good one in California and putting up with my stupid questions. Craigslist has a saved search function so we had been sending listings back and forth. Today, he mentioned I should keep my eye’s out for a “w124 car”, which is a Mercedes chassis designation. Jim knows these cars very well so I took that to heart. We finished our conversation and hung up the phone.

2 minutes later my personal Mac dinged. It was a new Craigslist listing, for a w124 car in Los Angeles. I sent it immediately to Jim who stated “Wow nice car and low miles..”. Hook set. I spoke with the gentleman on the phone and a cash price was set.

I fly tomorrow morning to San Diego, where my brother Jim will pick me up at the airport and we will expedision(ish) to Los Angeles to look at the vehicle. Much shorter than the trip home from Guatemala!

IF all goes well, this will be in the driveway by the weekend!!

1995 Mercedes E300 Diesel

The Newmann Expedition

I will be heading out on an expedition from Guatemala to Tijuana with my long time friend Jim Newmann and two other soon to be good friends Van Johnson and Luis Reyes. The trip is estimated at around 3,000 miles.

Jim has purchased a 1985 Mercedes Geländewagen or G-Wagon. Just so happens it belonged to Luis’s uncle who lives in Guatemala City. So we are going to go get it!

I will be flying from Tucson to San Diego on Sept 26 and Jim and I will depart Tijuana, Mexico the evening of Sept 27. We plan on spending a few days in Guatemala and then heading out. This is NOT the exact route we will be taking, I just used it to calculate possible mileage and tolls. We will only be traveling during the day and staying on toll roads as much as possible.

Stupid WordPress wont let me embed the map… grrr.

We hope to return back to Tijuana around November 8th. However given the length of the journey, the age of the vehicle (and its passengers) we are not able to predict for sure when we will return. It’s going to be a great time!

I have started growing a beard for low maintenance and have all sorts of new immunizations. I am packing light! Two pairs of ExOfficio travel underwear (they better work as promised ExOfficio!) 4 pairs of KÜHL Stealth Liberators, a few shirts, two pair Merrels and other “stuff”.

I am taking some newly acquired tech gear to help along they way as well, so we should have internet access the entire trip, thanks to the Solis Skyroam.We may also have a couple of Spots with us just in case.

I will try to remember to update the blog at least each day with that days follies.

“A journey is a person in itself; no two are alike. And all plans, safeguards, policing, and coercion are fruitless. We find after years of struggle that we not take a trip; a trip takes us.”
John Steinbeck, Travels with Charley: In Search of America

The Ultimate Uber

In March I spoke at a little IBM convention in Las Vegas called “Think 2018” – it’s actually a very large convention – but that isn’t the point. They have cool stuff in Las Vegas. Its not my favorite town by any stretch of the imagination but it surprised me this year.

I needed an Uber to pick me up along with my good friend Mark Leaser so we could go have a nice steak. This is the Uber vehicle that arrived – not what I was expecting!

Yes – that is a Tesla Model X, the ultimate Uber! The driver was just getting started with a company that will be providing car services with multiple Tesla’s in Las Vegas.

If you don’t know anything about Tesla, they build and sell electric vehicles. Actually I would say they are more in the software industry. Every Tesla they sell within a specific model is the same hardware, but they can enable and disable features based on what you pay for with the software that runs the car. Yeah – wrap your head around that for a while.

They do some pretty cool things besides never needing an oil change or engine maintenance or overhaul. They have a “Mars Rover Mode” (video 1) and they will also perform a Christmas Song for you! (even better video 2). Kaylan, the second one is for you!

Mars Rover Mode:

Christmas Performance! I get a bit excited….

F250 Super Duty Dog Platform Build

We need space in the backseat of the truck for the dogs so they can go with us on some upcoming trips. I started researching some flat platforms for the rear seat of the F250. Apparently there were some model years in which Ford had an option for a flat steel fold out platform. Our truck does not have that platform but rather some very nice underseat storage with a handy 12V DC power outlet. In researching and talking to some guys on the inner web, I located a few of these platforms for purchase.

But then I went to measure how much room the dogs would have with the flat steel platform in and without removing the rear seat. Turns out not too much! I could gain another 1.5 feet of room by rooming the rear sear. More is always better so I decided to remove the rear seat in the King Ranch and build my own dang dog platform!

Note: The middle seatbelt has a very small release hole where the normal red release button should be. Took me a while to find that. Simply insert a pin and push. Make believe your removing a seat belt for a bee. It works. Also, be careful when removing the connector for the under seat 12 volt power socket as that is a bit tricky.

Seat Removed:

The platform will be about 35.5 inches deep and 57 inches wide in the truck.

Next we need some support slats to run front to back under the platform for support. The issue here is that the floor isn’t “flat”. Ford decided that would just be too simple. SO I invented the special “Schauf Contour Tool” which is a 35.5 inch piece of cardboard to match length of platform with duct tape and bamboo skewers and a level. I am pretty sure Sears will start carrying them soon. This will also me to measure each slat to perfectly match the contour of the floor.

Measure Contour of Floor

Next using the SCT (catch up people, its an acronym for the tool) I adjusted the skewers along the SCT to match the contour of the floor where this particular slat will make contact.

Hey don’t laugh. Worked pretty well so far!

Update: So apparently this type of tool was already invented and is called a “Contour Tool”. There are up more than a few of them available on Amazon – however they are NOT 35 inches long! Dang another patent down the drain. 

Plot the points on the slat

At this point I transferred the contour points onto the 35.5 x 6.5 slat and connected the dots. I learned how to do that at an early age. Still can’t stay in the lines though.

First Slat done!

Ok, so after cutting it looks like the SCT will work. I need to measure out and cut about 3 more slats. I wish the floor were the same the width of the truck but it isn’t. Thanks Ford.

 Since we chose MDF for strength and weight, I had to augment it so the slats have better support. (Zoom in).  I used 1×1’s on each side of each slat for extra support and so that I would have a solid surface to drill into from the top. 

Also since it’s about 198° in the garage here in Arizona, even at night, I am fabricating in the kitchen. I promise I’ll clean up the mess honey. This picture shows the structurally complete platform. 

OK time to see if it fits in the truck! And it does! I forgot to take a picture of the level showing a completely centered bubble. 

I then positioned the Engle refrigerator so that I could maximize space for the dogs and determine where to put the tiedown points. 

The boys were very excited and have plenty of room!


At some point I’ll finish up with carpet to match the interior of the truck but for now will just use their dog beds. 

F250 Intercooler Upgrade Install

Well, got the upgrade parts today and was able to get the installation done today as well after work. The install took me about 2 hours because its the first time I have wrenched on the F250 and the fitment of the pipe, given that its comprised of 4 parts each of which can rotate and need adjustment, took some time.

Its also the first time that I have needed Vaseline and window cleaner when working in an engine compartment. Stop giggling Jim and Chris. The Vaseline is for the lubrication (ok, now just Chris stop giggling) of an o-ring that gets removed from the old intercooler tube and placed into the new bad-assness part (beautiful CNC-machined aluminum piece) on the top of the engine. The window cleaner allows the boots to slip onto the pipe and will dry so not as to allow slippage later.

I used the H&S Intercooler kit and it comes with very good installation instructions. Even though the instructions provided are online and in color, I believe a couple of things are missing from them:

1 – There should be more detail about the fitment of the high quality bead-rolled stainless steel pipe to the boots. The pipe itself has raised ridges and I had some question about where the clamps should be placed in relation to the ridges on the pipe. I had seen a picture during my research showing the correct fitment but alas I did not bookmark it. I figured it out however and placed the clamps to the outside of the ridges on the boots so that any pressure created inside the boot would end up pushing the boot against the pipe and not OFF the pipe. That’s what we are trying to avoid in the first place…. well that and the pipe exploding. I don’t think this stainless steel pipe will explode like the plastic one did on Mike’s truck but I digress.

2- There should be a better picture showing the correct position of the air temperature sensor connector on the CNC machined aluminum part which fits on the throttle body assembly. I could not find a way to have the H&S logo on top as stated in the instructions as this would rotate the air temperature sensor connector right into the fan shroud. I still have not found a way to make two items occupy the same physical space thus my rotation solution.

3 – For those of us who are new to wrenching on our F250’s there should also be a mention of the “gold wrench”. Upon reconnecting the battery and jumping in the truck to start it, I was confronted with a nice golden wrench on the display on the dash. I assume this is the trucks way of telling you “hey someone disconnected my battery” as after I started the truck, turned it off and put the key back in – no more golden wrench. I am sure there is a better description of this on the Powerstroke forum.

4 – The instructions should also state that small children and those with sensitive hearing should not be present during the installation as foul language will most certainly be used and at increasing volumes.

So here are the pictures:

Kit:

Before:

During:

After:

I then took a vigorous test drive and threw some turbo pressure at the new parts and they did very well, didn’t blow up or off and got me home. There was a slight hiss on the long boot and a spray of windex while the turbo was spun up did show some bubbles so I tightened that clamp a bit more.

Time will tell but I now will feel more confident when towing or carrying some good weight in the truck. And if anything fails it will be my fault and I will know how to fix it.

This experience also has given me an idea for the trucks name. Yes, I name my vehicles but they must earn the name. Since the truck did draw blood and it has a blue logo, I was thinking that “blueblood” might work. Then I decided to extend that to some noble blueblood name, so I am thinking Alfred or something like that. Ohhh – how about Frederick the Ford? He was a pretty calm monarch. Plus Pixar does not have any hip white truck names and I will not call the truck “Mater”. I will have to run the idea past the naming committee (Linda).